Overview: Act 5, Stage 2[]
Timer Target: xxx
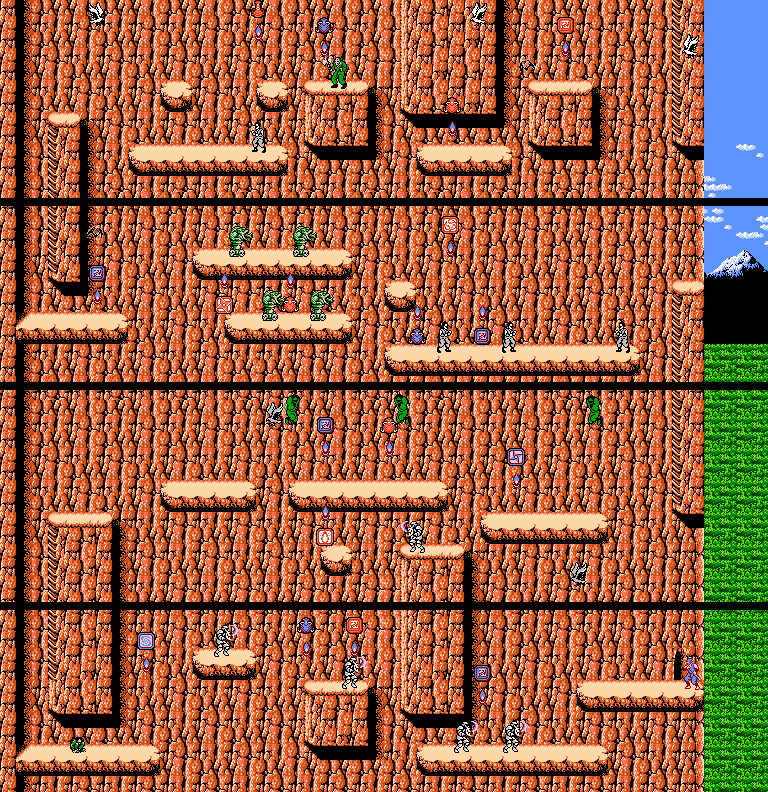
At this point, the game is pissed that you made it this far. Luckily, with speedrunning strats, stage 5-2 is made easier than it seems. Again, there are a few different options for strats based on skill and personal preference - the last room tends to be the most challenging for new players. The goal is to complete the stage with Spinslash and 65 Ninpo (65 is ideal; just have as much Ninpo as possible).
| Prev Stage: 5-1 | Next Stage: 5-3 |
|---|
First Room[]
Observe the image on the right for the proper jump timing to dispatch the first enemy. It is imperative that you collect all Ninpo drops in this room, as well as Spinslash. This Spinslash drop should last you the rest of Act 5, if you execute properly. Because of the difficult of stage 5-2 and 5-3, be prepared to switch to sword-only strats if you die and lose Spinslash.
Second Room[]
Now that you have Spinslash, you must slash-cancel to collect the purple Ninpo drop in this room. Mind your health - you may get hit by the bird when jumping to the ladder at the end if your jump isn't perfect.
Third Room[]
Dispatch the Bruce Lees, and Spinslash onto the first Turret. You must then boost to the top row by jumping into the left side of the closest turret.
You can clear the next gap safely by simply Spinslashing off of it, ripping through the Bat. However, you can clear the Bat without attacking by jumping slightly early. Get used to a visual cue to do this, though, since a mistimed jump will result in you hitting the Bat, or falling to your death. Note that if you opt to use Spinslash, consider collecting the Purple Ninpo on the last platform to make up for the 5 that youThis screen is a major barrier for casual runs. t d from the Spinslash.
Fourth Room[]
This screen is a major barrier for casual runs. It has an overhanging cliff face with a pit straight below. Making a mistake here will often lead to death.
There are a couple ways to clear this obstacle:
The Lemon Drop[]
The first way is to drop down off the ledge and press left at the correct time to grab the lower part of the cliff face, then jump right onto the platform to proceed. Runners call this the "Lemon Drop"
The Up and Over[]
This is slower than the Lemon Drop, but much easier to pull off. You start by jumping off the cliff and grabbing as high as possible on the right hand cliff face. Then, perform two wall climbs which will clip you through the wall and land you on the platform below. A bird will spawn after performing the first wall climb, either Spinslash during the second wall jump to kill it, or hold onto the wall and tank the hit from the bird before jumping.